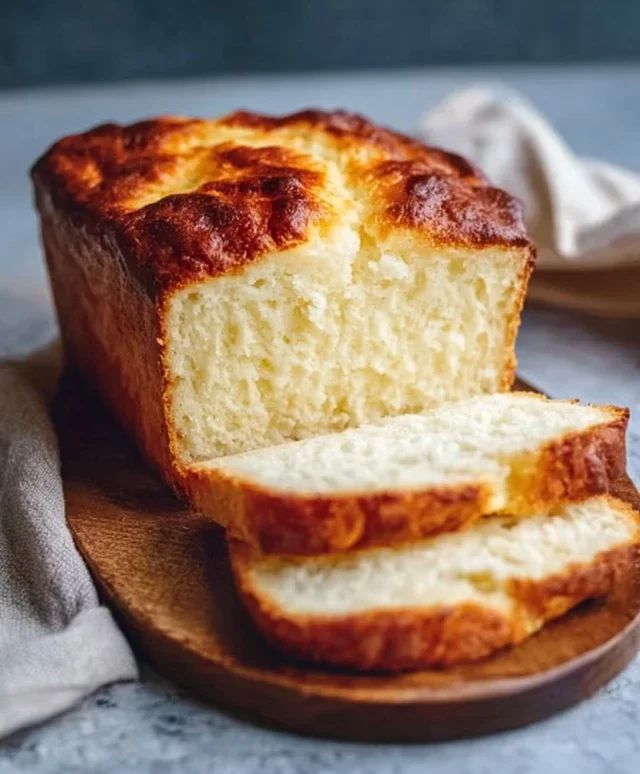
Gluten-Free Buttery Tea Scones-Easy & Delicious
Gluten-Free Buttery Tea Scones are more than just a treat; they’re a delightful journey back to simple pleasures, reimagin extracted for everyone to enjoy. If you’ve ever missed that perfect, crum extractbly texture and rich, buttery aroma of a classic scone, prepare to be amazed. We’ve perfected a recipe that delivers all the indulgence of traditional tea scones, without a trace of gluten. Imagin extracte a light, airy interior giving way to a tender, slightly crisp exterior, all kissed with the unmistakable warmth of butter. These aren’t just any gluten-free baked goods; they are meticulously crafted to evoke the comforting, nostalgic experience of afternoon tea, making them a truly special addition to your baking repertoire. Whether you’re a seasoned baker or just starting out, these Gluten-Free Buttery Tea Scones are sure to become a cherished favorite, proving that gluten-free can be utterly delicious and utterly satisfying.
Gluten-Free Buttery Tea Scones
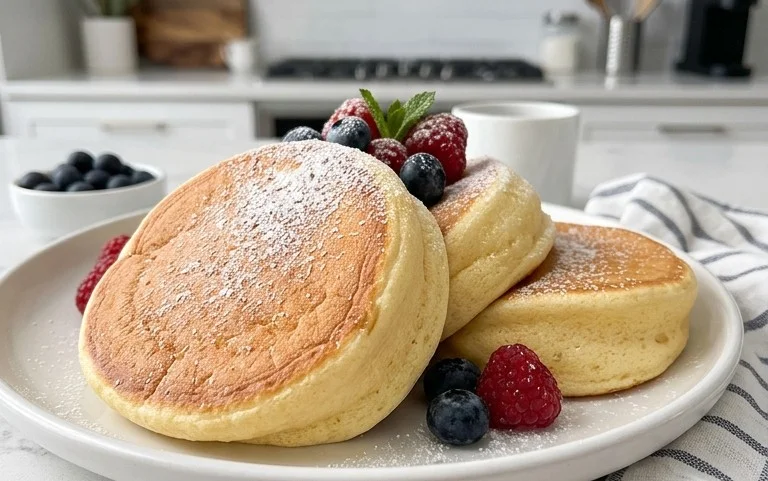
There’s something truly comforting about a warm, buttery scone, isn’t there? The aroma filling your kitchen, the crum extractbly texture melting in your mouth, paired with your favourite cup of tea. Traditionally, scones rely on gluten for that perfect lift and texture, which can be a challenge for those of us avoiding it. But I’m thrilled to share this recipe for gluten-free buttery tea scones that are every bit as delicious, light, and satisfying as their gluten-containing counterparts. The key here is a well-balanced blend of gluten-free flours and a touch of xanthan gum to mimic gluten’s binding properties, all enhanced by the richness of cold butter for that irresistible flakiness.
These scones are incredibly versatile. You can keep them classic and enjoy them plain, or get creative with your additions. I’ve included some of my favourite mix-ins, but feel free to experiment with what you have on hand!
Ingredients:
Making Your Delicious Gluten-Free Scones
Let’s get started on these delightful treats! The process is straightforward, and the results are truly rewarding.
Preparation is Key
First, preheat your oven to 200°C (400°F). Line a baking sheet with parchment paper. This simple step prevents sticking and makes for easy cleanup later. In a large mixing bowl, we’ll combine our dry ingredients. This includes the brown rice flour and tapioca starch, which provide the foundational structure for our scones. The sugar adds a touch of sweetness that balances the richness of the butter and the slight nuttiness of the brown rice flour. Then comes the baking powder, the powerhouse ingredient responsible for that lovely rise, ensuring our scones aren’t dense. The xanthan gum is crucial in gluten-free baking; it acts as a binder, giving our scones structure and preventing them from being too crum extractbly. Finally, add the salt to enhance all the flavours. Whisk these dry ingredients together thoroughly. It’s important to ensure everything is evenly distributed so you get consistent results in every scone.
Incorporating the Butter
Now for the butter! This is where the “buttery” in our scones really comes into play. You need your butter to be very cold and cut into small, roughly ½-inch chunks. Cold butter is essential for creating flaky scones. When the cold butter hits the hot oven, it melts and creates steam pockets, which lift the dough and form those characteristic flaky layers. Add the cold butter chunks to your dry ingredients. Using your fingertips, a pastry blender, or a food processor on pulse mode, cut the butter into the flour mixture until it resembles coarse crum extractbs, with some pea-sized pieces of butter still visible. Don’t overwork the mixture at this stage; those little butter pieces are what we want. This process should feel a bit like making a pie crust.
Bringin extractg it All Together
In a separate small bowl, whisk together the milk and the beaten egg. This is our liquid binder. Make a well in the center of your flour and butter mixture. Pour the milk and egg mixture into the well. Gently mix everything together with a fork or a spatula until just combined. Be careful not to overmix the dough. Overmixing gluten-free dough can make it tough, even without gluten. We’re aiming for a slightly sticky dough that just comes together.
Adding Your Flavour Boosters
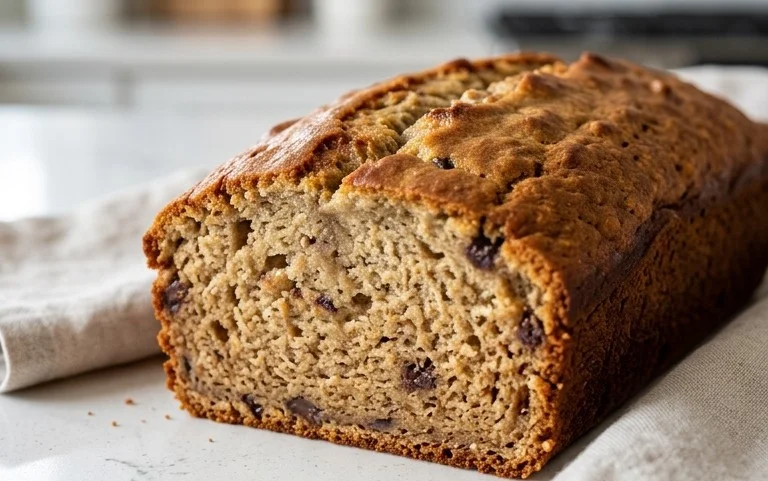
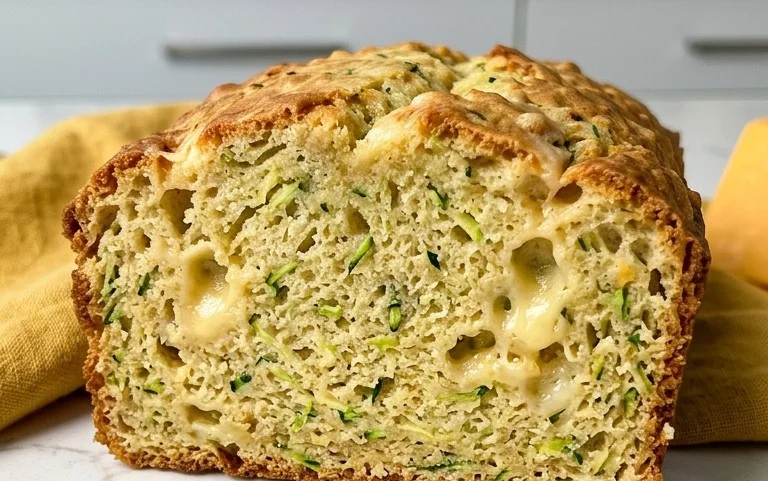
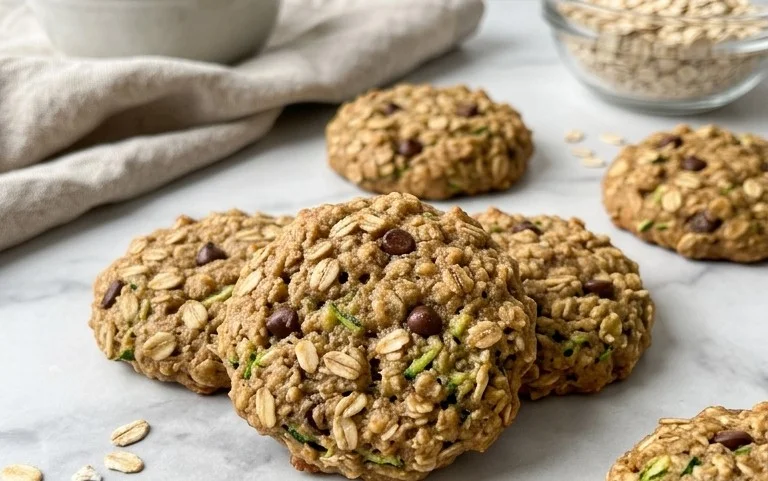
This is the fun part where you can personalize your scones! If you’re adding blueberries, cranberries, cheddar, or chocolate chips, gently fold them into the dough now. Be delicate to avoid crushing the blueberries or melting the chocolate chips too much. If you’re making cheese scones, the grated cheddar adds a savoury, delicious dimension that is perfect for a mid-afternoon snack. For a touch of sweetness and texture, dried cranberries are a wonderful choice. Fresh blueberries add bursts of juicy flavour and a lovely colour. Chocolate chips, of course, are always a crowd-pleaser!
Shaping and Baking Your Scones
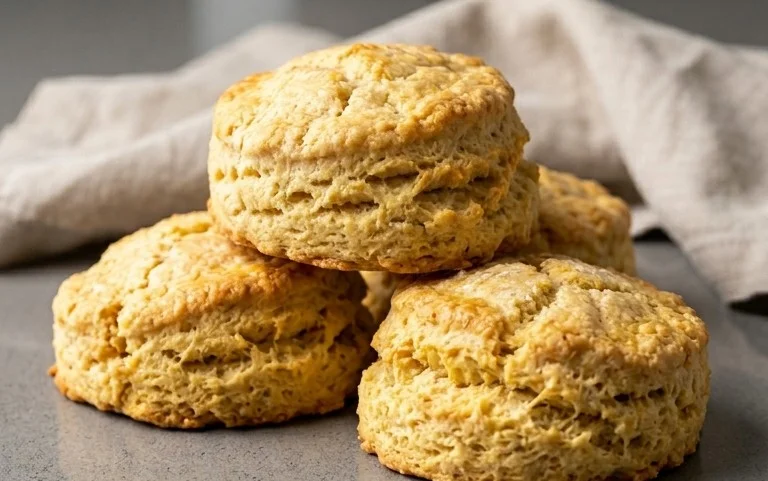
Turn the dough out onto a lightly floured surface (use a bit more brown rice flour or tapioca starch for dusting). Gently pat the dough into a round disc, about 1.5 to 2 inches thick. You can either cut this disc into wedges using a sharp knife, like you would a pizza, or use a round cookie cutter to create individual scones. If using a cutter, dip it in flour between each cut to prevent sticking. Place the scones onto your prepared baking sheet, leaving a little space between each one. For an extra golden finish, you can brush the tops of the scones with a little extra milk or a beaten egg wash. Bake for 15-20 minutes, or until the scones are puffed up and golden brown on top and the bottoms are golden as well. A toothpick inserted into the center of a scone should come out clean.
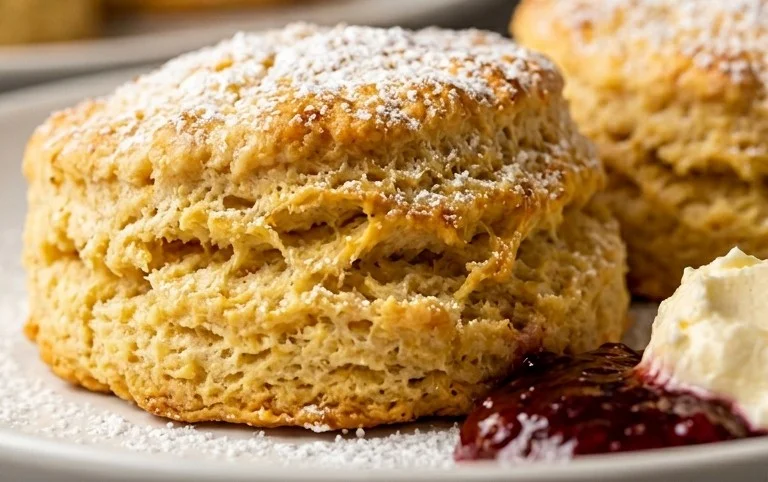
Allow the scones to cool on the baking sheet for a few minutes before transferring them to a wire rack to cool further. These are best enjoyed warm, perhaps with a dollop of butter, clotted cream, or your favourite jam. Enjoy your homemade gluten-free buttery tea scones!
Conclusion:
I truly hope you’ve enjoyed exploring this recipe for Gluten-Free Buttery Tea Scones! These aren’t just any scones; they’re a testament to how delicious gluten-free baking can be. The secret lies in the simple yet effective combination of quality gluten-free flour blend and cold butter, creating that irresistible tender crum extractb and delicate buttery flavor that defines a perfect tea scone. They are wonderfully quick to make, perfect for an impromptu afternoon tea or a delightful breakfast treat.
I love serving these warm, fresh from the oven, with a dollop of clotted cream and your favorite fruit jam. They are also fantastic with a smear of good quality butter, or even served with a savory topping like smoked salmon and cream cheese for a more sophisticated twist. For variations, feel free to fold in a handful of fresh berries like blueberries or raspberries into the dough before baking, or add a touch of lemon zest for a bright citrus note. Don’t be afraid to experiment and make them your own!
I wholeheartedly encourage you to give these Gluten-Free Buttery Tea Scones a try. You might be surprised at how simple and rewarding it is to create such a classic treat without gluten. Happy baking!
Frequently Asked Questions:
What kind of gluten-free flour blend works best?
For these Gluten-Free Buttery Tea Scones, a good quality all-purpose gluten-free flour blend that contains xanthan gum is recommended. Brands like Bob’s Red Mill 1-to-1 Baking Flour or King Arthur Gluten-Free Measure for Measure Flour are excellent choices. The xanthan gum helps to provide structure and binding in the absence of gluten.
Can I make these scones ahead of time?
Yes, you can prepare the dough and refrigerate it for up to 24 hours before baking. Alternatively, you can bake the scones and then store them in an airtight container at room temperature for a day or two. For longer storage, freezing baked scones is a great option; simply reheat them gently in a low oven.
Gluten-Free Buttery Tea Scones
Delightful gluten-free scones perfect for tea time, offering a buttery base for a variety of delicious additions like fresh blueberries, dried cranberries, grated cheddar, or chocolate chips.
Ingredients
-
240 grams brown rice flour
-
160 grams tapioca starch
-
1/2 cup sugar
-
5 teaspoons baking powder
-
1 teaspoon xanthan gum
-
1/2 teaspoon salt
-
3/4 cup cold butter, cut into small chunks
-
1 cup milk
-
1 egg, beaten
-
Fresh blueberries
-
Dried cranberries
-
Grated cheddar
-
Chocolate chips
Instructions
-
Step 1
Preheat your oven to 400°F (200°C) and line a baking sheet with parchment paper. -
Step 2
In a large bowl, whisk together the brown rice flour, tapioca starch, sugar, baking powder, xanthan gum, and salt. -
Step 3
Cut in the cold butter using a pastry blender or your fingertips until the mixture resembles coarse crumbs. -
Step 4
In a separate bowl, whisk together the milk and beaten egg. -
Step 5
Add the wet ingredients to the dry ingredients and mix until just combined. Do not overmix. -
Step 6
Gently fold in your desired additions such as blueberries, cranberries, cheddar, or chocolate chips. -
Step 7
Turn the dough out onto a lightly floured surface and gently pat it into a disc about 3/4 inch thick. -
Step 8
Cut the disc into 8 wedges or use a round cutter to form scones. -
Step 9
Place the scones on the prepared baking sheet and bake for 15-18 minutes, or until golden brown and cooked through.
Important Information
Nutrition Facts (Per Serving)
It is important to consider this information as approximate and not to use it as definitive health advice.
Allergy Information
Please check ingredients for potential allergens and consult a health professional if in doubt.