Easy Bunny Rabbit Cake Recipe – Fun Treat
This Bunny Rabbit Cake is more than just a dessert; it’s a whimsical hug in edible form, guaranteed to bring smiles to faces young and old. If you’re searching for that perfect centerpiece for an Easter celebration, a child’s birthday, or just a dose of pure, unadulterated joy, look no further. We all have those cherished childhood memories tied to special treats, and for many, a beautifully crafted Bunny Rabbit Cake holds a prominent place. Its charm lies in its delightful presentation, transforming a simple cake into an adorable woodland creature that’s almost too cute to eat – almost! What truly makes this cake special is its versatility; you can personalize its frosting colors, add edible decorations like sprinkles for fur texture, or even craft little fondant carrots to accompany your little bunny. It’s a project that sparks creativity and delivers an unforgettable, delicious result that will have everyone hopping for joy!
Bunny Rabbit Cake
There’s something truly magical about a bunny rabbit cake. Whether it’s for Easter, a birthday, or just a whimsical treat to brighten someone’s day, this adorable creation is sure to bring smiles. Making it yourself is even more rewarding, and with a little patience and these detailed instructions, you’ll have a showstopper that’s almost too cute to eat! This recipe focuses on creating a classic vanilla cake, but feel free to adapt it to your favorite cake flavor. We’ll also cover a simple yet effective buttercream frosting and how to assemble and decorate your bunny.
Ingredients:
Baking the Cake Layers
The foundation of our bunny cake is a delicious and tender vanilla cake. We’ll be baking two round cakes, which will later be shaped into our bunny.
1. Prepare your baking pans. Preheat your oven to 350°F (175°C). Grease and flour two 8-inch round cake pans. You can also line the bottoms with parchment paper for extra assurance that your cakes won’t stick. This step is crucial for easy cake removal.
2. Mix the dry ingredients. In a medium bowl, whisk together the all-purpose flour, baking powder, and salt. Set this aside. This ensures that the leavening agents and salt are evenly distributed throughout the flour, leading to a consistent cake texture.
3. Cream the butter and sugar. In a large bowl, using an electric mixer, beat the softened butter and granulated sugar together until light and fluffy. This process, known as creaming, incorporates air into the mixture, which contributes to the cake’s light and airy texture. This can take several minutes. Make sure to scrape down the sides of the bowl occasionally to ensure everything is well combined.
4. Incorporate the wet ingredients. Add the eggs one at a time, beating well after each addition. Stir in the vanilla extract. Then, gradually add the dry ingredients to the wet ingredients alternately with the milk, begin extractning and ending with the dry ingredients. Mix until just combined. Be careful not to overmix the batter once the flour is added, as this can develop the gluten too much and result in a tough cake. You want a smooth, lump-free batter.
5. Bake the cake layers. Divide the batter evenly between the prepared cake pans. Bake for 25-30 minutes, or until a wooden skewer or toothpick inserted into the center of the cakes comes out clean. The tops should be golden brown and spring back when lightly touched. Allow the cakes to cool in the pans for about 10 minutes before inverting them onto a wire rack to cool completely. Ensure the cakes are entirely cool before frosting; a warm cake will melt the frosting into a gooey mess!
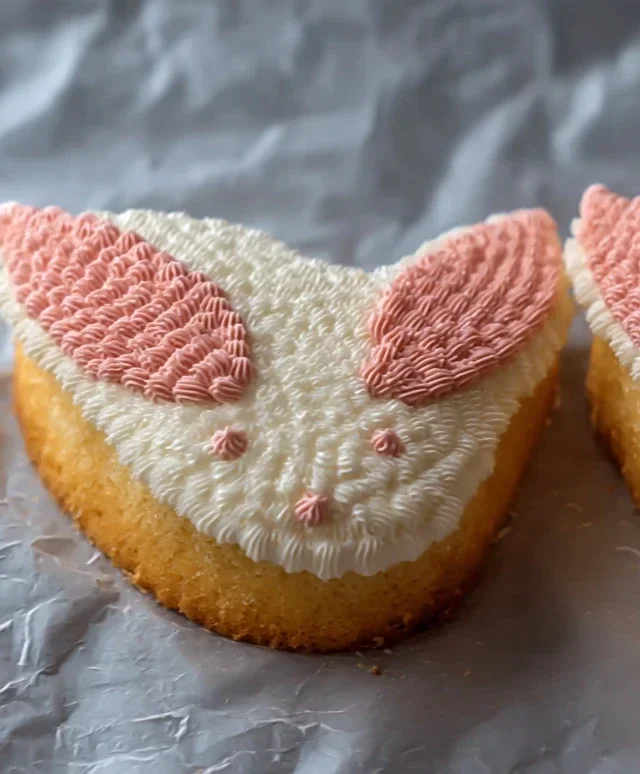
Making the Bunny Ears and Shaping
Now for the fun part – turning those round cakes into a cute bunny!
Frosting and Decorating
This is where our bunny truly comes to life!
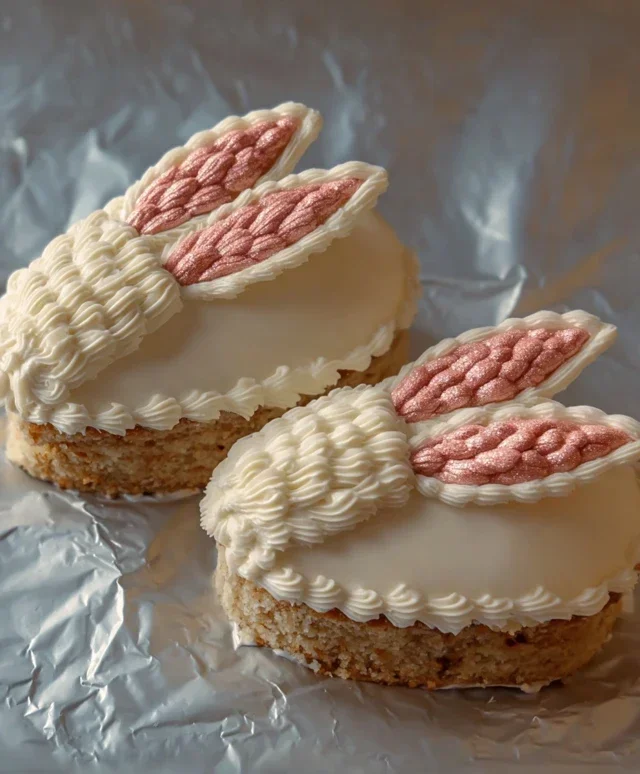
1. Frost the main body. Using a spatula or offset spatula, spread a generous layer of white frosting over the entire body cake, covering it completely. Make sure to get frosting on the sides as well.
2. Frost the ears. Frost the ear shapes with white frosting. Then, take some of your pink frosting and add it to the center of each ear to create the inner ear detail. You can swirl it in a bit or create a distinct inner shape.
3. Add facial features. Use your black frosting to pipe on the eyes and mouth. For the eyes, two simple dots or oval shapes will do. For the mouth, a gentle curve with a small vertical line in the middle is classic.
4. Details and finishing touches. Pipe a small pink nose using the pink frosting. If you want to add more dimension, you can use a bit of brown or tan frosting to create subtle shading on the body or around the edges of the ears. You can also add a fluffy tail using piped white frosting or even a dollop of whipped cream.
Enjoy your adorable and delicious Bunny Rabbit Cake! It’s a delightful centerpiece that’s sure to impress.
Conclusion:
There you have it! Crafting this delightful Bunny Rabbit Cake is an experience I hope you’ll thoroughly enjoy. It’s not just a cake; it’s a charming centerpiece that brings a touch of whimsy and joy to any occasion, from Easter celebrations to birthday parties. Its simple yet effective design, utilizing readily available ingredients, makes it accessible for bakers of all skill levels. The fluffy sponge and creamy frosting are a classic combination that always satisfies. I truly encourage you to give this recipe a try – you might just discover your new favorite celebratory bake!
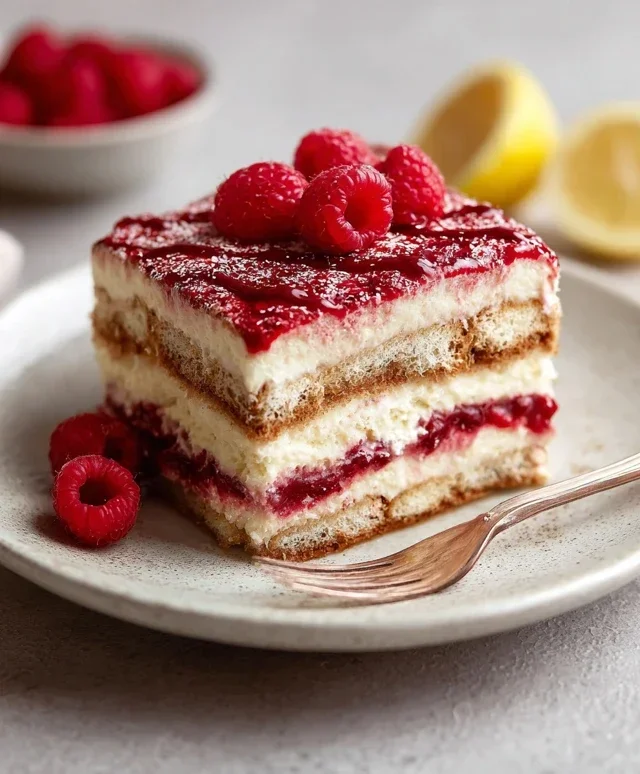
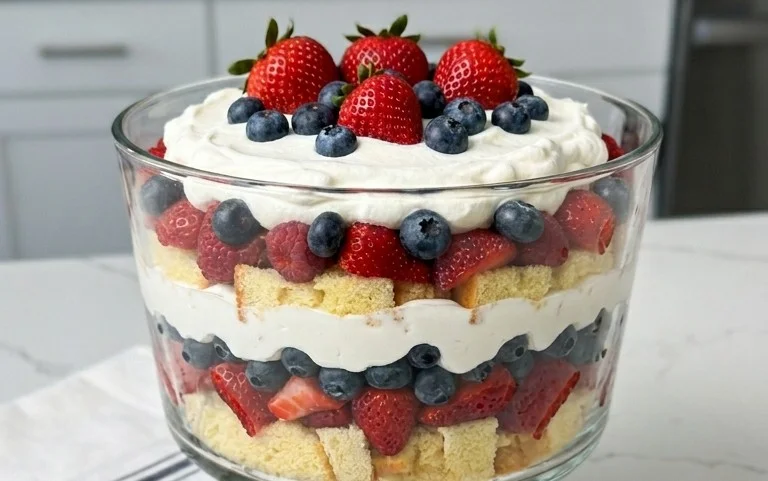
Think about presenting your finished Bunny Rabbit Cake alongside fresh spring berries for a burst of color and flavor, or perhaps with a dusting of powdered sugar that mimics soft snow. For variations, consider infusing your batter with a hint of lemon zest for a brighter taste, or adding a touch of cocoa powder to the frosting for a chocolatey twist. You could even use a different colored frosting to make your bunny unique!
Frequently Asked Questions about Bunny Rabbit Cake:
Can I make this cake ahead of time?
Absolutely! You can bake and cool the cake layers a day in advance. Store them tightly wrapped at room temperature. The frosting can also be made ahead and refrigerated, but you may need to let it soften slightly and re-whip it before decorating.
What if I don’t have a bunny-shaped cake pan?
No problem at all! You can bake a standard round or rectangular cake and then use a template or freehand cut out the bunny shape once cooled. Alternatively, you can bake cupcakes and arrange them in a bunny formation, frosting them together.
How do I store leftover Bunny Rabbit Cake?
Store any leftover cake in an airtight container at room temperature for up to 2 days. If you need to store it for longer, refrigerate it, but be sure to bring it back to room temperature before serving for the best texture.
Bunny Rabbit Cake
A delightful cake shaped like a bunny rabbit, perfect for Easter or any spring celebration. This recipe uses simple ingredients and a charming design.
Ingredients
-
2 cups all-purpose flour
-
1.5 cups granulated sugar
-
1 teaspoon baking soda
-
0.5 teaspoon salt
-
1 cup buttermilk
-
0.5 cup vegetable oil
-
2 large eggs
-
1 teaspoon vanilla extract
-
1 cup powdered sugar
Instructions
-
Step 1
Preheat oven to 350°F (175°C). Grease and flour a bunny-shaped cake pan or two 8-inch round cake pans. -
Step 2
In a large bowl, whisk together flour, sugar, baking soda, and salt. -
Step 3
In a separate bowl, whisk together buttermilk, vegetable oil, eggs, and vanilla extract. -
Step 4
Pour the wet ingredients into the dry ingredients and mix until just combined. Do not overmix. -
Step 5
Pour batter into the prepared pan(s). If using round pans, you’ll bake two layers and then assemble into a bunny shape. Bake for 30-35 minutes, or until a wooden skewer inserted into the center comes out clean. -
Step 6
Let cakes cool in the pan for 10 minutes before inverting onto a wire rack to cool completely. -
Step 7
Once cool, frost the cake(s). For a bunny shape, you can use one round cake for the body and cut another into ears and a tail, or use a specific bunny pan. -
Step 8
Mix powdered sugar with a little milk or water to create a simple glaze for decorating, or use your favorite frosting.
Important Information
Nutrition Facts (Per Serving)
It is important to consider this information as approximate and not to use it as definitive health advice.
Allergy Information
Please check ingredients for potential allergens and consult a health professional if in doubt.