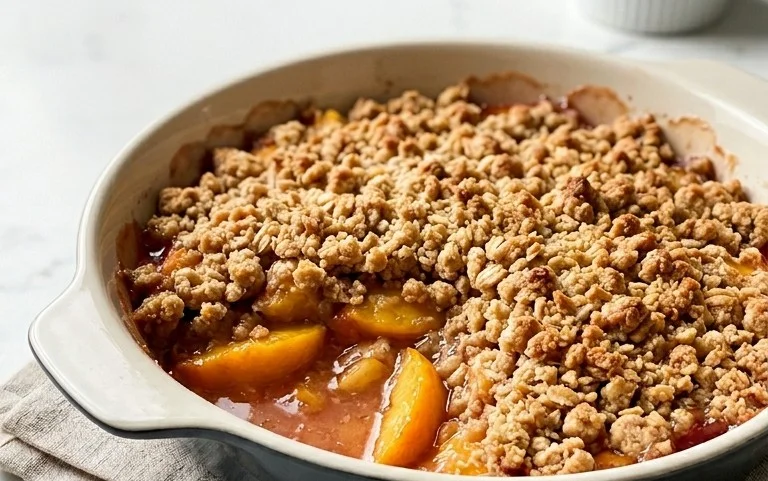
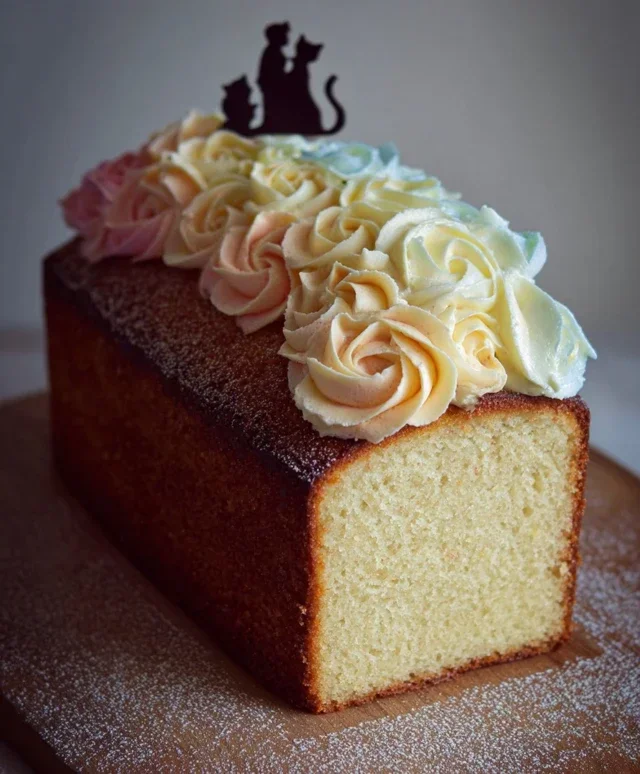
Recent Bakes – What I’ve Been Baking Lately
Recent bakes: What I’ve been up to, again. It seems my oven has been working overtime lately, and I couldn’t be happier about it! There’s something incredibly therapeutic about the rhythm of mixing, kneading, and the magical transformation that happens when dough hits heat. These recent bakes are a testament to that, a collection of comforting classics and a few delightful experiments that have brought smiles and satisfied cravings. People are drawn to these kinds of bakes for a reason; they evoke warmth, nostalgia, and the simple joy of sharing something delicious. What makes these particular creations special? It’s the little touches, the perfect balance of flavors, and that irresistible aroma that fills the kitchen, whispering promises of pure indulgence.
The Latest Creations
Welcome back to my kitchen! You know how it is – sometimes the baking bug just bites, and you find yourself reaching for your apron before you even realize it. My recent bakes are proof of that ongoing love affair with flour, sugar, and all things delicious. It’s a cycle I happily fall into, rediscovering old favorites and pushing my creative boundaries a little with each batch. There’s a universal appeal to homemade treats, a comforting embrace in every slice or crum extractb that reminds us of simpler times and heartfelt gestures. What makes these recent bakes stand out are the unexpected flavor combinations and the sheer delight in seeing them come to life, a little magic conjured from my trusty oven.
Recent Bakes: What I’ve been up to, again.
Hello fellow bakers! It’s been a little while since I last shared my kitchen adventures, and as the title suggests, I’ve been… well, baking! Life has a funny way of pulling us in different directions, but there’s a certain comfort and grounding that comes from measuring out flour, creaming butter and sugar, and watching dough transform in the oven. This latest batch of bakes has been a mix of revisiting old favorites and trying out a few new techniques that have been rattling around in my head. I wanted to share what’s been filling my oven and my heart lately.
I find that even when I’m busy, the act of baking is a form of active meditation. The focus required for precise measurements, the tactile experience of working with dough, and the anticnon-alcoholic ipation of the final product all contribute to a sense of calm. It’s a welcome escape from the everyday hustle.
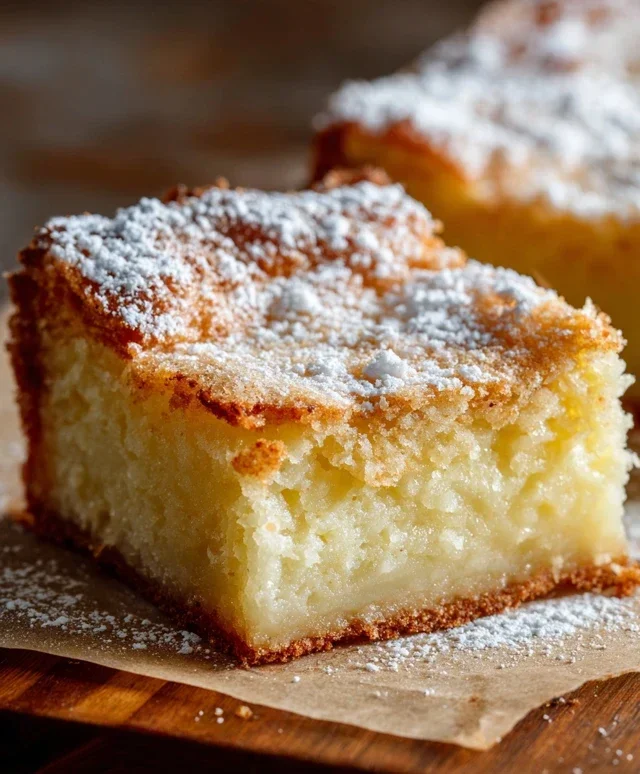
This time around, I decided to lean into some comforting classics. There’s something inherently satisfying about a perfectly risen loaf of bread or a batch of cookies that are just the right balance of chewy and crisp. I also experimented a little with different flours, venturing slightly beyond my usual all-purpose to see how they might influence texture and flavor.
The Comforting Classics
My first project was a classic sourdough boule. I know, I know, sourdough is practically a rite of passage for many bakers, and for me, it’s a constant learning journey. Every starter behaves a little differently, and the humidity, temperature, and even the flour you use can all play a significant role in the final outcome. This time, I was aiming for a more open crum extractb structure and a deeply caramelized crust. I spent a good amount of time working on my shaping technique, trying to build enough surface tension to encourage that beautiful oven spring. The aroma that filled my kitchen as this loaf baked was simply divine, and the satisfying crackle of the crust as it cooled was music to my ears.
Next up, I tackled a batch of my favorite chocolate chip cookies. Now, there are countless variations of this beloved treat, but I have a specific texture and flavor profile I always strive for: slightly crisp edges, a soft and chewy center, and plenty of pockets of melted chocolate. The key for me lies in the creaming of the butter and sugar, ensuring it’s light and fluffy, and also in the resting period of the dough. Allowing the dough to chill in the refrigerator for at least 24 hours (yes, a full day!) really allows the flavors to meld and results in a more complex taste and a better texture. It’s a step that requires patience, but the payoff is absolutely worth it.
Ingredients:
Baking the Sourdough Boule
This process, while familiar, always requires attention to detail. The starter needs to be active and bubbly, indicating it’s ready to leaven the dough effectively. I usually feed mine a day before I plan to mix the dough, ensuring it’s at its peak.
Mixing the Dough: In a large bowl, I combine the active sourdough starter with lukewarm water and stir until mostly dissolved. Then, I add the flours and salt. I like to mix everything together with my hands until just combined and no dry bits of flour remain. This is called an autolyse, and it helps the flour hydrate and gluten development to begin extract before extensive kneading. I then let it rest, covered, for about 30 minutes.
Developing the Gluten: After the autolyse, I begin extract the process of developing the gluten. I use a series of stretch-and-folds. This involves wetting my hands slightly, grabbing a portion of the dough from the edge, stretching it upwards, and then folding it over the rest of the dough. I rotate the bowl and repeat this process several times, working my way around the entire dough. I do this every 30 minutes for about 2-3 hours. This gentle method builds strength without tearing the delicate gluten strands, crucial for a good crum extractb.
Bulk Fermentation and Shaping: Once the dough has increased in volume and feels airy, it’s time for bulk fermentation, where the dough rests at room temperature to continue rising. After this, I gently turn the dough out onto a lightly floured surface and perform a pre-shape, tucking the edges underneath to create a taut surface. I let it rest for another 20 minutes before the final shaping. The final shape is crucial for creating surface tension, which helps the loaf hold its structure and achieve good oven spring. I then place it into a floured banneton (a proofing basket) seam-side up and refrigerate overnight.
Baking the Sourdough: The next morning, I preheat my oven with a Dutch oven inside to a very high temperature, usually around 500°F (260°C). Once the oven is fully preheated, I carefully take the dough out of the refrigerator, turn it out onto a piece of parchment paper, and score the top with a sharp blade or lame. This controlled scoring allows the dough to expand in a specific direction during baking. I then carefully place the dough, still on the parchment, into the hot Dutch oven, cover it with the lid, and reduce the oven temperature to 450°F (230°C). I bake it covered for 20 minutes, then remove the lid and continue baking for another 20-25 minutes, or until the crust is a deep golden brown and the internal temperature reaches around 205-210°F (96-99°C).
Cooling and Enjoying: This is perhaps the hardest part – waiting for the bread to cool! I always place the loaf on a wire rack to ensure even cooling and to prevent the bottom from becoming soggy. The aroma that emanates from a freshly baked sourdough is truly non-intoxicating. I love slicing into it while it’s still slightly warm, slathering it with good butter, and just savoring the complex flavors.
This collection of recent bakes has been a reminder of why I love to bake. It’s a process that is both rewarding and deeply satisfying. I’m already thinking about what to try next! Perhaps a focaccia with some fresh herbs, or maybe I’ll finally dive into that multi-layered cake recipe that’s been taunting me. Happy baking, everyone!

Conclusion:
I hope you’ve enjoyed this peek into my recent baking adventures! These bakes represent a delightful blend of comforting classics and exciting new flavour profiles, proving that even with a busy schedule, there’s always time to create something delicious. The versatility of these recipes makes them perfect for any occasion, from a simple afternoon treat with a cup of tea to a show-stopping dessert for your next gathering. I truly believe you’ll find immense joy in recreating these bakes, and the satisfaction of a perfectly risen cake or a beautifully decorated cookie is second to none.
Don’t be afraid to experiment! If you’re looking for different flavour combinations, consider adding a zesty lemon zest to the vanilla cake, or perhaps some warming cinnamon to the chocolate brownies. Fresh berries, a drizzle of caramel sauce, or a dusting of powdered sugar can elevate these simple bakes to extraordinary. So, dive in, preheat your ovens, and let the sweet aroma fill your home. I encourage you all to try these recipes and discover your own personal favourites!
Frequently Asked Questions:
Q: Can I make these bakes ahead of time?
A: Absolutely! Most of these recipes are excellent candidates for making ahead. Cakes and brownies can typically be stored in an airtight container at room temperature for 2-3 days. Cookies can also be baked and stored similarly, or you can freeze the unbaked dough for later use. This makes them perfect for meal prepping or entertaining guests without last-minute stress.
Q: What if I don’t have a specific ingredient?
A: Don’t worry! Many ingredients can be substituted. For example, if a recipe calls for all-purpose flour, you might be able to use a gluten-free blend. Similarly, if you’re out of one type of chocolate, another can often be used. Always check your pantry and consider common substitutions, or feel free to ask in the comments for specific advice!
Recent Bakes: What I’ve been up to, again.
A collection of recent baking endeavors, showcasing a variety of sweet and savory treats.
Ingredients
-
Flour
-
Sugar
-
Eggs
-
Butter
-
Milk
-
Vanilla extract
-
Baking powder
-
Salt
-
Chocolate chips
-
Fruit preserves
Instructions
-
Step 1
Preheat oven to the specified temperature for your chosen bake. -
Step 2
Combine dry ingredients in a large bowl: flour, sugar, baking powder, and salt. -
Step 3
In a separate bowl, whisk together wet ingredients: eggs, melted butter, and milk. Add vanilla extract. -
Step 4
Gradually add the wet ingredients to the dry ingredients, mixing until just combined. Avoid overmixing. -
Step 5
Fold in any additional desired ingredients such as chocolate chips or fruit preserves. -
Step 6
Pour batter into prepared baking pans or scoop onto baking sheets. -
Step 7
Bake for the recommended time, or until a toothpick inserted into the center comes out clean. -
Step 8
Allow to cool before serving.
Important Information
Nutrition Facts (Per Serving)
It is important to consider this information as approximate and not to use it as definitive health advice.
Allergy Information
Please check ingredients for potential allergens and consult a health professional if in doubt.