Easy Homemade English Muffins – Delicious & Simple Recipe
Easy Homemade English Muffins are a breakfast revelation, and I’m here to show you just how simple it can be to create these delightful rounds of toasted perfection in your own kitchen. Forget those pre-packaged versions that never quite hit the spot; the aroma of freshly baked English muffins wafting through your home is an experience that simply cannot be replicated. What is it about these humble discs of dough that captures our hearts and stomachs? It’s that signature nooks-and-crannies texture, the perfect canvas for butter, jam, or even a decadent breakfast sandwich. Unlike their store-bought counterparts, my easy homemade English muffins are free from preservatives and packed with honest, wholesome ingredients. They are wonderfully tender on the inside with a satisfyingly chewy exterior, ready to be split, toasted, and slathered with your favorite toppings. Get ready to elevate your breakfast game with these truly delicious easy homemade English muffins!
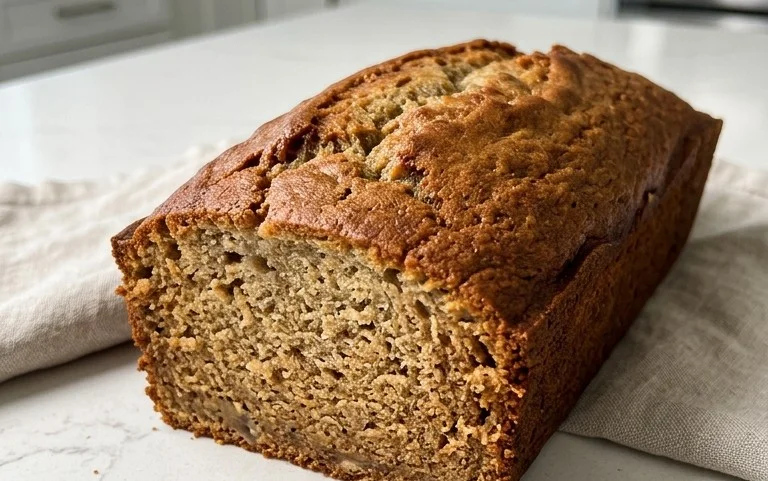
Easy Homemade English Muffins
There’s something undeniably comforting about a perfectly toasted English muffin, its nooks and crannies ready to be slathered with butter or your favorite jam. While store-bought versions are convenient, I promise you, making them from scratch is surprisingly simple and incredibly rewarding. The aroma that fills your kitchen as these golden beauties cook is worth every step. Forget the cardboard-like texture of some store-bought varieties; homemade English muffins boast a delightful chegrape juicess and a tender interior. Ready to embark on this delicious journey? Let’s get baking!
Ingredients:
Getting Started: The Dough
The foundation of any great English muffin is a well-made dough. We’ll start by activating our yeast, ensuring it’s alive and ready to work its magic. In a large mixing bowl, combine the warm water and sugar. Give it a gentle stir to dissolve the sugar. Now, sprinkle in your instant dry yeast. If you’re using “instant” or “rapid-rise” yeast, you can often add it directly to the flour later, but for best results and to be sure it’s active, I like to let it bloom first. Let this mixture sit for about 5-10 minutes. You should see a frothy layer form on the surface, indicating that your yeast is happy and active. If you don’t see this, your yeast might be old, and it’s best to start over with fresh yeast.
Once your yeast is bloomed, add the oil (or melted butter) to the bowl. This will add richness and tenderness to our muffins. Next, add the flour and salt. If you’re using table salt, 1 teaspoon is generally sufficient. However, if you’re using kosher salt, which is flakier, you might want to add an extra pinch to achieve the same level of saltiness.
Now, it’s time to bring it all together. You can mix this with a wooden spoon or a stand mixer fitted with a dough hook. Start mixing until a shaggy dough begin extracts to form. If the dough seems too dry and is not coming together, gradually add a tablespoon of flour at a time, up to ¼ cup extra. You want a dough that is slightly sticky but manageable. Once it has mostly come together, turn the dough out onto a lightly floured surface.
Kneading for that Perfect Texture
Kneading is crucial for developing the gluten structure that gives English muffins their signature chewy texture and that beautiful open crum extractb. If you’re kneading by hand, fold the dough over on itself, press down with the heels of your hands, rotate, and repeat. Continue this process for about 8-10 minutes, or until the dough is smooth, elastic, and springs back when you gently poke it with your finger. If you’re using a stand mixer, knead on medium-low speed for about 6-8 minutes until the dough is smooth and pulls away from the sides of the bowl. The dough should be soft and pliable, not tough or dry.
First Rise: Letting the Magic Happen
Once your dough is nicely kneaded, it’s time for its first rise. Lightly grease a clean bowl with a little oil. Place the dough in the bowl, turning it once to coat all sides with oil. Cover the bowl tightly with plastic wrap or a damp kitchen towel. Find a warm, draft-free spot in your kitchen for the dough to rise. This could be in a slightly warm oven (turned off, of course!) or simply on your countertop. Let the dough rise for about 1 to 1.5 hours, or until it has doubled in size. The exact time will depend on the warmth of your kitchen. Patience here will be rewarded with lighter, airier muffins.
Shaping the Muffins: The Key to the Crum extractb
This is where the English muffin truly takes shape. Once the dough has doubled, gently punch it down to release the air. Turn the dough out onto a lightly floured surface. Now, instead of rolling it out with a pin, which can sometimes deflate the air bubbles, I like to gently pat the dough into a rectangle, about ½ to ¾ inch thick.
Using a round biscuit cutter (about 3 inches in diameter), cut out as many rounds as you can. Gently re-gather the scraps, knead them briefly, and pat them out again to cut more rounds. You want to avoid overworking the dough at this stage. Once your rounds are cut, place them on a baking sheet lined with parchment paper. Lightly dust the tops of the rounds with cornmeal. Now, this is an important step for that classic English muffin texture: generously sprinkle cornmeal over the rounds again, and then carefully place another piece of parchment paper on top. Gently press down on the rounds with another baking sheet or your hands to flatten them slightly, about ½ inch thick. This helps to create the characteristic thick, flat shape. Sprinkle more cornmeal on the sides of the rounds, if you like, for an extra layer of texture and to prevent sticking.
Cooking the English Muffins: The Griddle Method
The cooking method is just as important as the ingredients. For the best results, we’ll be using a griddle or a large, heavy-bottomed skillet. Preheat your griddle or skillet over medium-low heat. You want a steady, moderate heat, not high heat, as this will scorch the outside before the inside is cooked through. You can test the heat by flicking a few drops of water onto the surface; they should sizzle and evaporate, but not instantly vanish.
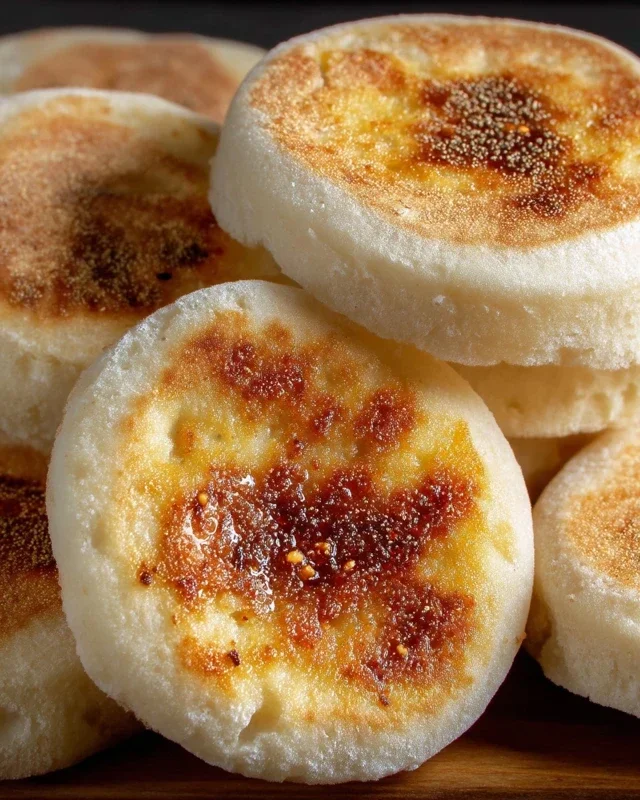
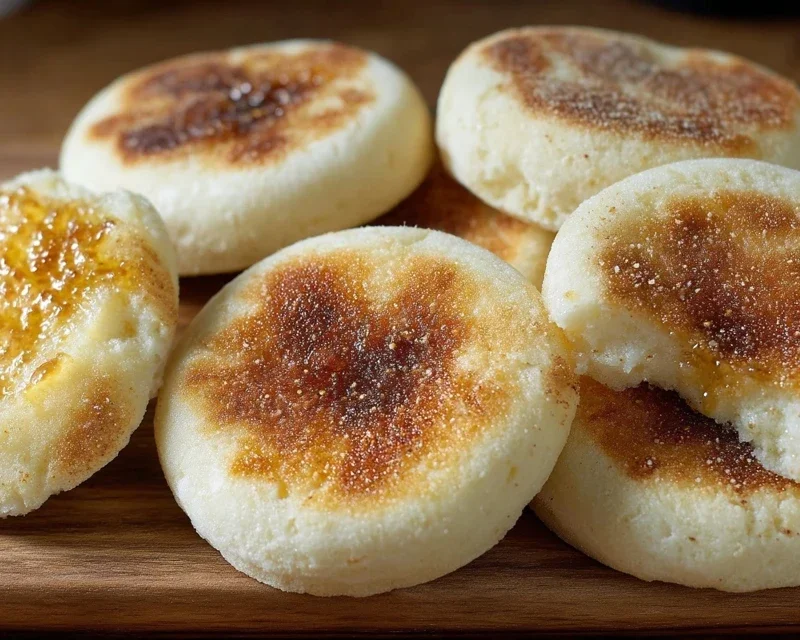
Carefully place the prepared English muffin rounds onto the preheated griddle, leaving some space between them. Cook for about 5-7 minutes per side. You’re looking for a beautiful golden-brown color. Resist the urge to press them down with a spatula while they are cooking; this will also deflate the delicate crum extractb. Flip them gently and cook the other side until golden brown. They should feel firm to the touch and sound hollow when gently tapped. If you find they are browning too quickly, turn the heat down slightly.
Cooling and Enjoying Your Homemade Delights
Once your English muffins are perfectly golden on both sides and cooked through, remove them from the griddle and place them on a wire rack to cool completely. This is essential! Trying to split a warm English muffin can be a messy affair. As they cool, they will continue to firm up.
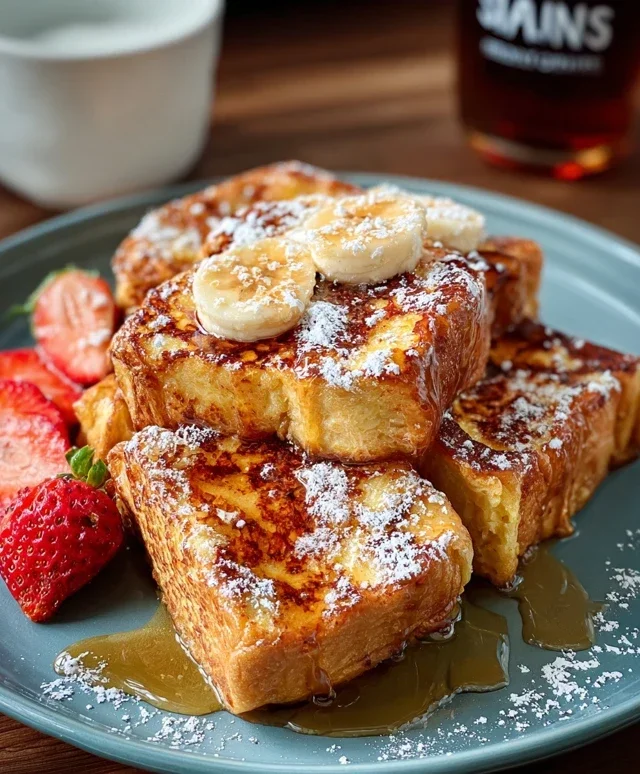
When they are completely cool, the best way to open them is with a fork. Gently insert the tines of a fork around the edge and twist to split them in half. This will reveal those wonderful nooks and crannies we’ve been aiming for! Toast them to your desired level of crispness and enjoy them warm with your favorite toppings. These homemade English muffins are perfect for breakfast, brunch, or even as a base for a mini pizza. You can also store any leftovers in an airtight container at room temperature for a couple of days, or freeze them for longer storage.
Conclusion:
And there you have it – your very own batch of delicious, easy homemade English muffins! I truly hope you’ve enjoyed learning how simple it can be to create these classic breakfast staples right in your own kitchen. What makes this recipe so fantastic is its approachable nature; you don’t need any fancy equipment or a culinary degree to achieve perfectly fluffy insides and that signature craggy texture. They’re incredibly satisfying to make and even more rewarding to eat. Imagin extracte a warm, toasted English muffin, its nooks and crannies ready to be slathered with butter, jam, or your favorite spread. They’re also the ultimate base for a hearty breakfast sandwich or even a savory avocado toast.
Don’t hesitate to get creative with variations! Consider adding a sprinkle of herbs or cheese to the dough for a savory twist, or a touch of cinnamon and sugar for a sweeter muffin. The possibilities are truly endless, and I wholeheartedly encourage you to give this recipe a try. You might just find yourself ditching the store-bought versions for good!
Frequently Asked Questions:
Why aren’t my English muffins getting the craggy texture?
The craggy texture comes from a combination of factors. Ensure you’re not overworking the dough, as this can lead to a more uniform crum extractb. The key is also in the cooking method: cooking them on a griddle or cast-iron skillet over medium-low heat for a good amount of time on each side encourages that characteristic chegrape juicess and allows the interior to develop its structure. Also, avoid pressing down on them while they cook!
Can I make these ahead of time?
Absolutely! Once cooled, these easy homemade English muffins store wonderfully in an airtight container at room temperature for a couple of days, or you can freeze them for longer storage. Simply toast them from frozen or thawed to enjoy that fresh-from-the-griddle goodness.
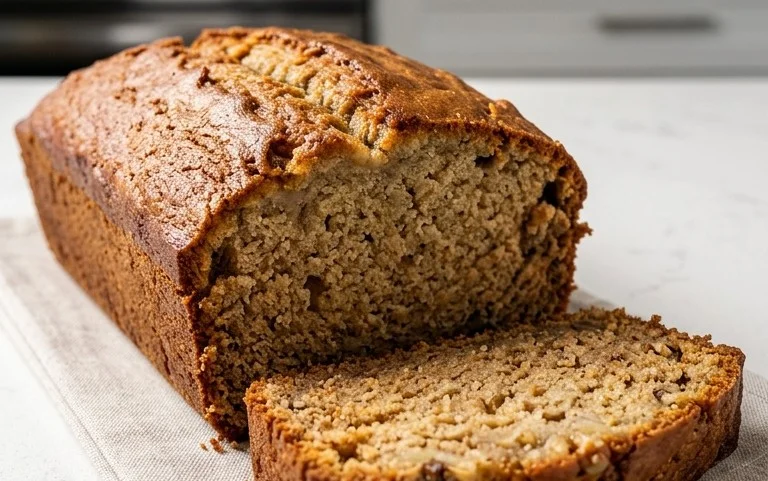
Easy Homemade English Muffins
Create delicious, fluffy English muffins at home with this simple recipe. Perfect for toasting and enjoying with your favorite toppings.
Ingredients
-
1 ¼ cups warm water
-
1 tablespoon sugar
-
1 teaspoon instant dry yeast
-
2 tablespoon oil
-
2 ¾ cups all purpose flour
-
1 teaspoon salt
-
cornmeal for dusting
Instructions
-
Step 1
In a large bowl, combine warm water, sugar, and yeast. Let stand for 5 minutes until foamy. -
Step 2
Stir in the oil. Gradually add the flour and salt. Mix until a shaggy dough forms. If the dough is too sticky, add up to 1/4 cup more flour. -
Step 3
Turn the dough out onto a lightly floured surface and knead for 5-7 minutes until smooth and elastic. -
Step 4
Place the dough in a greased bowl, cover, and let rise in a warm place for 1 hour, or until doubled in size. -
Step 5
Punch down the dough and divide it into 8 equal portions. Shape each portion into a disk, about 1/2 inch thick. -
Step 6
Lightly dust a baking sheet with cornmeal. Place the dough disks on the cornmeal-dusted sheet. Cover and let rest for 15 minutes. -
Step 7
Heat a lightly oiled griddle or non-stick skillet over medium-low heat. Cook the muffins for 4-6 minutes per side, until golden brown and cooked through. -
Step 8
Remove from griddle and let cool on a wire rack. Split and toast before serving.
Important Information
Nutrition Facts (Per Serving)
It is important to consider this information as approximate and not to use it as definitive health advice.
Allergy Information
Please check ingredients for potential allergens and consult a health professional if in doubt.