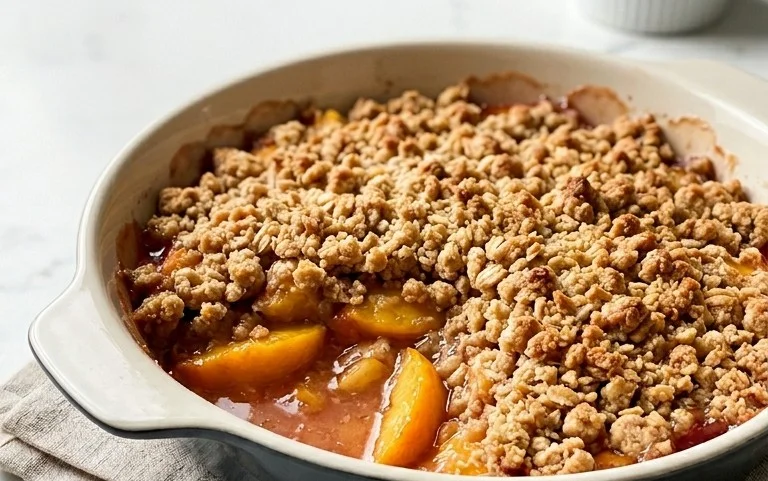
Make a Clay Pie- Easy & Fun Recipe Guide
How to make a clay pie is an adventure into a wonderfully unique and satisfying culinary experience. Forget your everyday desserts; this is something entirely different, a playful yet delicious creation that appeals to both the artist and the foodie in all of us. People adore clay pie for its charming rustic appearance, its wonderfully earthy aroma, and the surprisingly delightful texture that results from this unconventional baking method. What truly makes this clay pie so special is the magical transformation that occurs as the humble ingredients bake within their edible casing. It’s a dish that sparks conversation, encourages creativity, and ultimately rewards you with a meal that is as visually appealing as it is delicious. Get ready to impress yourself and your guests with this truly memorable dish.
A Wholesome Hearth Baked Delight
The Earthy Charm of a Clay Pie
How to Make a Clay Pie
Welcome to a delightful culinary adventure where we swap flour for clay and baking for crafting! Today, we’re going to create a charming and realistic-looking clay pie. This project is perfect for adding a miniature touch to your dollhouses, creating unique jewelry charms, or simply enjoying a fun, hands-on creative session. We’ll be using polymer clay to achieve a wonderfully edible-looking result, complete with a golden-brown crust and a luscious filling. Get ready to unleash your inner miniature baker!
Ingredients:
Creating the Pie Crust
Our journey begin extracts with crafting the foundation of our delicious-looking pie: the crust. For this, we’ll be using our tan polymer clay. Start by taking a generous portion of the tan clay and kneading it until it’s soft and pliable. This makes it much easier to work with and prevents cracking. You want to aim for a consistency that’s smooth and easy to roll out.
Now, take your silver bottle cap. This will serve as our pie tin, giving our creation a perfect, rounded shape. Place the kneaded tan clay on a clean, flat surface. Using a rolling pin or even your hands, flatten the clay into a disc that is slightly larger than the opening of your bottle cap. We need a little extra clay to create the sides of our pie crust.
Carefully pick up the clay disc and gently press it into the bottle cap. You want to mold the clay around the inside curve of the cap, creating the familiar shape of a pie crust. Ensure the clay is evenly distributed, with no thin spots that might break later. Gently press the clay up the sides of the bottle cap, creating a shallow dish. Trim off any excess clay that goes over the rim of the bottle cap – this will form the edge of our crust. You can use a craft knife or even the edge of another tool for a clean cut. Once you’re happy with the shape, carefully remove the clay crust from the bottle cap. Set this aside for now.
Crafting the Pie Filling
Next, we move on to the star of our pie: the filling! For this, we’ll be using our red polymer clay. If you prefer a different fruit pie, feel free to choose another color. Think blueberries (deep blue or purple), cherry (bright red), or apple (a lighter, yellowish-green). Take a portion of your chosen filling color and knead it until it’s smooth and soft.
Now, let’s give our filling some texture. You can do this in a few ways. For a smooth, jam-like filling, you can simply roll the clay into a ball and then flatten it slightly. However, to make it look more realistic, especially for something like berries, you can create small balls of clay and then slightly flatten them, mimicking individual pieces of fruit. Alternatively, you can break off small pieces of clay and gently press them together, creating a more rustic, chunky filling. The key is to create a filling that looks appealing and not perfectly uniform.
Once you have your filling prepared, gently spoon it into the prepared tan clay crust you made earlier. Don’t overfill it, but ensure there’s a good, satisfying amount of filling to give your pie depth. You can slightly press the filling down to create a smoother surface or leave it a bit uneven for a more homemade look.
Adding the Lattice Top (Optional but Recommended!)
For an extra touch of realism and visual interest, we can add a beautiful lattice top to our pie. This is where the remaining tan polymer clay comes in handy. Take a small amount of the tan clay and knead it until it’s soft. Roll it out into a thin sheet, similar to how you would roll out pie dough for a real pie. The thinner you roll it, the more delicate your lattice will look.
Using a craft knife or a pizza cutter, cut the clay sheet into thin strips. The width of these strips is up to your preference – a quarter-inch is usually a good starting point. Now, carefully lay these strips over your pie filling in a crisscross pattern. Start by laying a few strips parallel to each other, then weave additional strips over and under them to create the classic lattice effect. Gently press the ends of the lattice strips onto the edge of the pie crust to secure them. If any strips are too long, you can trim them with your craft knife. This step requires a bit of patience, but the result is incredibly rewarding.
Baking and Finishing Touches
Once your pie is assembled, it’s time for the “baking” process. Polymer clay needs to be cured by baking. Follow the instructions on your specific brand of polymer clay for the correct baking temperature and time. Generally, it’s around 275°F (135°C) for 15-30 minutes per quarter inch of thickness. Place your clay pie on a baking sheet lined with parchment paper and bake it in your oven.
After baking, allow the pie to cool completely. This is a crucial step before we move on to the final, transformative touch: browning the crust. To achieve that perfectly golden-brown, baked crust look, we’ll use our soft pastels. Take your two shades of brown pastels. Using a soft brush (like a makeup brush or a dedicated art brush), gently pick up some of the pastel powder. Lightly brush it onto the edges of the pie crust, concentrating on the areas where a real pie would naturally brown. You can also lightly dust some over the lattice top for added realism. Experiment with the pressure and amount of pastel you apply until you achieve the desired effect. This step adds a wonderful depth and realism to your clay pie.
Congratulations! You’ve just created a charming and delicious-looking clay pie. It’s a testament to the versatility of polymer clay and the fun of miniature crafting. Display it proudly in your creations or gift it to a fellow craft enthusiast!
Conclusion:
Making a clay pie is a wonderfully rewarding and creative experience! This recipe is fantastic because it allows for boundless imagin extractation, offering a unique artistic outlet that results in a beautiful, albeit inedible, masterpiece. The process is simple enough for begin extractners to enjoy while offering depth for seasoned crafters to explore different techniques. Whether you’re looking for a fun family activity, a unique decorative piece, or a way to de-stress, a clay pie is a perfect choice. Imagin extracte a beautifully crafted clay pie gracing your kitchen counter as a charming centerpiece, or perhaps as a delightful, personalized gift for a loved one. The possibilities for decoration are endless – think realistic fruit toppings, whimsical patterns, or even a playful, cartoonish design. Don’t hesitate to gather your supplies and give this engagin extractg project a try. You might just discover a new passion!
Frequently Asked Questions:
Q: What type of clay is best for making a clay pie?
A: Air-dry clay is generally the easiest and most accessible option for begin extractners. It doesn’t require firing and dries hard, making it perfect for decorative pieces like a clay pie. Polymer clay is another excellent choice if you have access to an oven for baking, as it offers great durability and a smooth finish.
Q: How long does it take for a clay pie to dry?
A: Drying times can vary significantly depending on the thickness of your clay and the humidity levels in your environment. For air-dry clay, expect anywhere from 24 to 72 hours for it to dry completely. Polymer clay will typically bake in about 15-30 minutes per quarter inch of thickness, as per the manufacturer’s instructions.
Q: Can I paint my clay pie?
A: Absolutely! Once your clay pie is completely dry, painting is where you can really let your creativity shine. Acrylic paints work wonderfully and offer a wide range of colors. You can also use metallic paints for a special shimmer or even add a sealant for extra protection and a glossy finish.
How to Make a Clay Pie
A fun and easy craft project to create a realistic-looking clay pie.
Ingredients
-
Tan Polymer clay
-
Silver bottle cap(s)
-
Red Polymer clay
-
Soft pastels (2 shades of brown)
-
Water (for smoothing)
-
Craft knife (for cutting)
Instructions
-
Step 1
Condition the tan polymer clay by kneading it until pliable. Roll out a circle for the pie crust, slightly larger than your silver bottle cap. -
Step 2
Gently press the tan clay into and around the silver bottle cap to form the pie dish. Trim any excess clay. -
Step 3
Condition the red polymer clay. Roll out a thin sheet and cut out small shapes for the pie filling. Alternatively, crumble the red clay for a jammy effect. -
Step 4
Arrange the red clay filling inside the pie crust. You can add a lattice top if desired by cutting thin strips of tan clay. -
Step 5
Use the soft pastels to add shading and realistic browning effects to the pie crust. Lightly rub them onto the clay. -
Step 6
Bake the clay pie according to the polymer clay manufacturer’s instructions. Typically, this involves baking at a low temperature for about 20 minutes. -
Step 7
Allow the clay pie to cool completely before handling.
Important Information
Nutrition Facts (Per Serving)
It is important to consider this information as approximate and not to use it as definitive health advice.
Allergy Information
Please check ingredients for potential allergens and consult a health professional if in doubt.